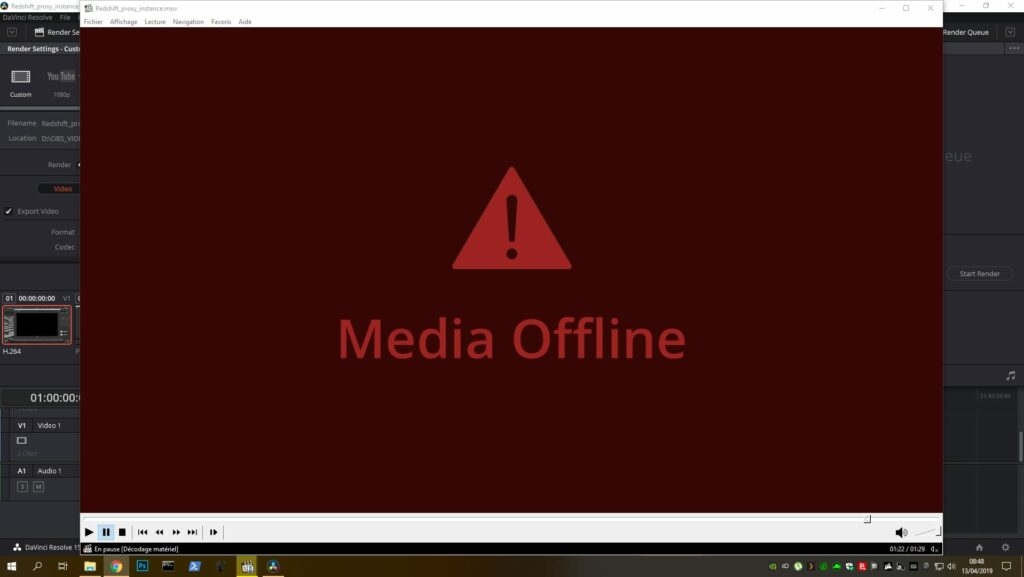
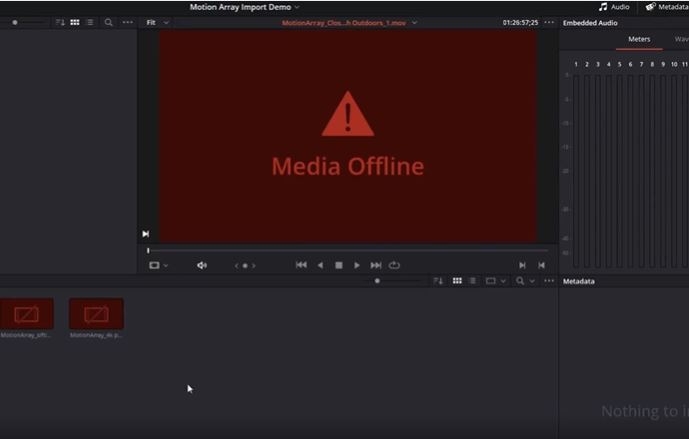
It supports the exciting world of 8K editing, mind-blowing visual effects, and crystal-clear sound post-production. Whether it’s a solo creative artist or a team of an entire team of creative professionals, they will always choose DaVinci Resolve as it provides the industry’s best-of-its-kind effects. Even Hollywood motion pictures, several television programs, and video ads are familiar with it. Suppose you are an avid user of DaVinci Resolve Media and use it to improve your skills. In that case, you might have seen an error warning In DaVinci Resolve addressing that your video is probably offline. Thankfully, you won’t have to stress even if you are not able to exist your clips anymore.
The DaVinci Resolve Media Offline Issue
There is a reason for this, and today we are going to address it and come up with an excellent solution to tackle the same. The most prevalent reason for it to happen is that your records have been transferred or stored at a new file site. It is possible that video files do not completely get stored in the DaVinci Resolve project file itself, which can lead to errors. Their position on your hard disc and the program operates using the location as the point of reference.
How to fix the Media Offline Issue in DaVinci Resolve?
If you want to quickly get your hands on fixing DaVinci Resolve Media Offline Issue, continue reading this guide. There are multiple steps involved in this process so let’s go through the steps one by one. Once DaVinci results fail to read your video, it displays ‘media offline.’ There are multiple reasons for this. Factors Such as a few unlinked clips, 4K 60 FPS H.265 video, and VFR might play a role in it. Once you look at the main reason for the problem, you will be able to fix this problem in no time. It is possible that the problem can be solved without the need to install any accessory tool, but depending on the core reason might have to install a few relevant tools. Lets us discuss some common problems and their solutions
Common media offline problems with DaVinci Resolve
When the connection between your selected videos and the primary footage that is stored on the hard drive is lost, then you may face media offline as a result of unlinked clips. In the process of copying and pasting your projects to a new machine, you may unintentionally shift your input footage to a different folder or a disc on your laptop or desktop. Let us see the solution:
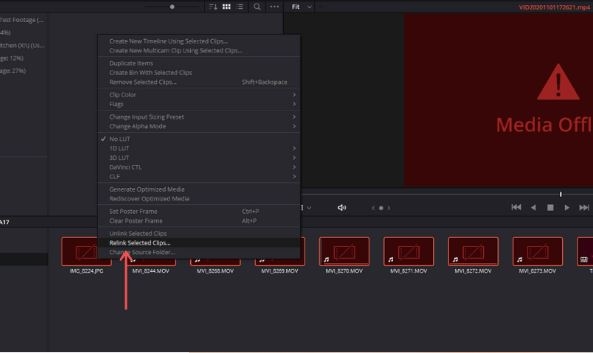
Enter the media pool. Choose all your saved videos from the hard drive. Then right-click on one of the videos. And select “Relink Selected Clips”. Then you will be asked to select a location for the original footage. And confirm it by clicking ‘ok’.
Sometimes if certain clips are not discovered during the search, then DaVinci resolve will give you the option of a “comprehensive search”. If you face any technical issues during the search, due to which you may see only a few files, then you need to restart the search. During the search, Davinci Resolve will try to locate source files within the specified folders of the subfolder. If the broken links do not bother you, follow the steps ahead. Let us see the other problem.
Offline Media As Soon As It Is Imported
The status of the media is shown as offline when it isn’t by DaVinci Resolve. After all the work is done in the DaVinci Resolve, imported clips go offline But if you try to drag a file into the timeline and try to play, you can hear the audio. It is a problem with H.265 or HEVC codec being played back. HD videos shot from GoPros and DJI Mavic’s (such as 4K 60 FPS) is decreased to a smaller file size using the H.265 encoding standard. H.265 codec is also used in Fujifilm’s XT4 and Sony’s A7S3 and also in DSLRs. Canon EOS 7D Mark III = XAVC HS (H.265) -> 10-bit 4:2:2 and 4:2:0 subsampling -> Ultra HD 120 FPS, Ultra HD 60 FPS, and other frame rates. In 10-bit 4:2:0 sub-sampling, Fuji XT3/XT4 = H.265 -> 4K 60 FPS, and so forth. The fundamental reason is a lack of HEVC or H.265 decoding capability. The main reason for these errors is a lack of HEVC or H.265 decoding capability. It is because of a bug in Windows 10. To correct it you require HEVC extensions To get access to the extensions, let us look at the solutions
You need to visit Microsoft or google store to get the HEVC extensions required by you. Purchase the following extension by clicking “buy.” (you will be required to pay a certain amount.) Just install the extension that you have purchased and downloaded. Now you need to restart the computer to see the changes. The video will be decoded in Resolve hassle-free.
Both the versions, free as well as studio versions of DaVinci Resolve support the H.265 decoding, but the GPU acceleration is supported only in the studio version.
Issues the media faces when it is not connected to the internet.
Random frames generally tend to exhibit media offline errors when they are dragged or while the timeline is placed after the H.265 clips are uploaded. However, this is not the case when it comes to a complete/full clip. Videos with characteristics 4K 60 FPS shooted by smartphones such as the recent iPhone models have this tendency to have this issue. Problems are bound to arise with inter-splicing media in offline frames, and eventually, DaVinci Media studio users must learn to deal with it. Now let’s start by solving this problem. The key is to apply the following steps if you haven’t. But before you start, check whether your resolve and GPU drivers are freshly updated. Solution:
If you are a studio user, you will have to adjust your GPU settings in DaVinci resolve. To do this, go to the Preferences menu, followed by the System, and then click on Memory and GPU. Once you open the “GPU Processing Mode,” -> Tap on Auto instead of CUDA or OpenCL. Look for Decode Options and then click on it, followed by H.265, utilizing the hardware acceleration option until both of them are rendered unlocked. Restart, and decide on a solution to test it.
In DaVinci Resolve Media, there are potentially missing clips since it is offline. The timeline will display a question mark when a particular clip is missing. If by mistake you happen to remove a video from the Media Library, chances are a clip from the timeline will go missing. The solution: Re-import the deleted files to the storage pool from the original drive.
Media is not available for playback or audio synchronization problems.
DaVinci Resolve tends to turn all the imported files into offline mode, but yes, the audio normally still sounds fine. There are times when you find the video in audio out of synchronization with each other. This common phenomenon is encountered when the film shorts are at a variable time rate. To solve this, switch from table time rate to uniform footage. For, Mediainfo( download and install) and Handbrake are required, and you are done. If everything fails and you are still unable to solve the issue, you have to use this hidden WEAPON. Some users might still not be able to solve the media offline problem even after completing the methods we have discussed above. If you are one such user, you got this last solution to deal with the issue. Do nothing but just transport the video you have shot. It is but a simple method of converting your video into an entirely different format, such as H.264, Mpeg-4, VP9, etc. They are all examples of compression formats and are highly resource-intensive codecs that churn on the processing capacity of your Desktop System. They are also relatively easier to work with, especially in post-production, such as DNxHD for ProRes, for Windows and Mac, respectively. These are heavy files, but they are very easily rated for modification and color correction. You can use handbrake to convert BMP easy files into Codec like these as they are highly editing friendly.
It is better to convert all of your videos into a bulk format which DaVinci finds relatively easier to understand, such as H.264. Open DaVinci Resolve and import the video files. After that, select the Delivery Tab and export these video files into a format of your choice and a codec that’s post-production friendly.
Using this method will be able to create films that are large but very easy to edit.
So after you import the videos, start trimming them in Davinci Resolve. Also, after importing the files, you will have to activate the function ‘optimized media and render cache,’ which will be located under the master settings option. Now choose the codec that you find easy to modify, for example, an uncompressed 10-bit. Automatically save your work by clicking on the save button. Tap playback followed by optimizing media if available from the drop-down list section, and you are good to go.
Conclusion
The problem is that the software might not be efficiently able to merge the particular audio and video for the incoming media, which is why this happens. This normally occurs when the user imports a shot video file and the presence of a camera that doesn’t provide the provision of an electronic shutter. It also happens when your own free footage is edited with a codec such as ProRes. All these are a few of the most common yet complicated problems when the realm of digital radio editing comes to play. These might cause setbacks when you try to process audio or video. Moving on, if you even counter a problem and error and get displayed addressing that your video is offline, you don’t have to worry anymore because now you have proven solutions discussed above!
Top 10 Best Windows Emulators for Mac How to Cancel Photoshop Subscription? Top 10 YouTube Video Editors for Beginners (Windows and Mac)
